
Converting a photo to fabric takes fewer artist genes than you might think. My secret is using software to manipulate the photo into a “values” picture to use as a pattern. My package is Adobe’s Photoshop Elements 10 on Windows, but there are several alternatives, each with their own lingo:
- Picasa: free download from http://picasa.google.com/. “Crop” is in the 1st menu tab. “posterize” in the 4th menu tab (“more fun and useful photo editing”) does the values thing.
- Corel Paintshop Pro $30 on Amazon: contours, posterize, and topology. Demo available
- Tammie Bowser’s is $99 and up.
My directions below use the Photoshop Elements names for the various tools.
Supplies:
- Photo (to which you have rights) scanned into computer.
- Clear plastic to make a pattern (e.g. a clear photo sleeve protector or a shower curtain)
- Dark sharpie
- 7 or so fabrics; graded from light to dark.
- Steam-a-seam-2-lite
- Scissors for cutting paper
- Iron
- Applique Pressing Sheet (fusible won’t stick.)
 Steps:
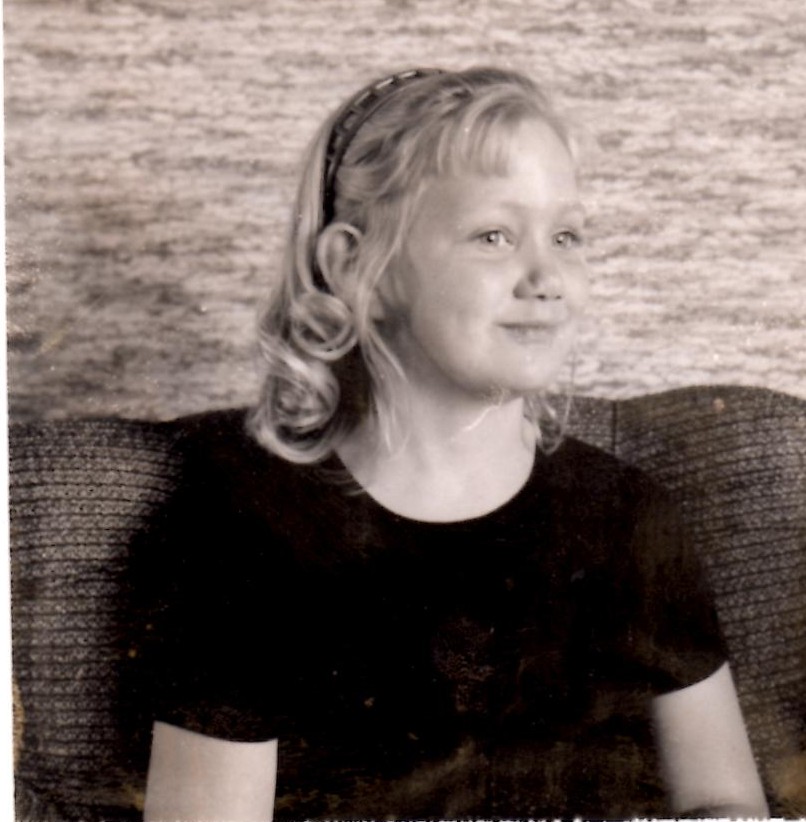
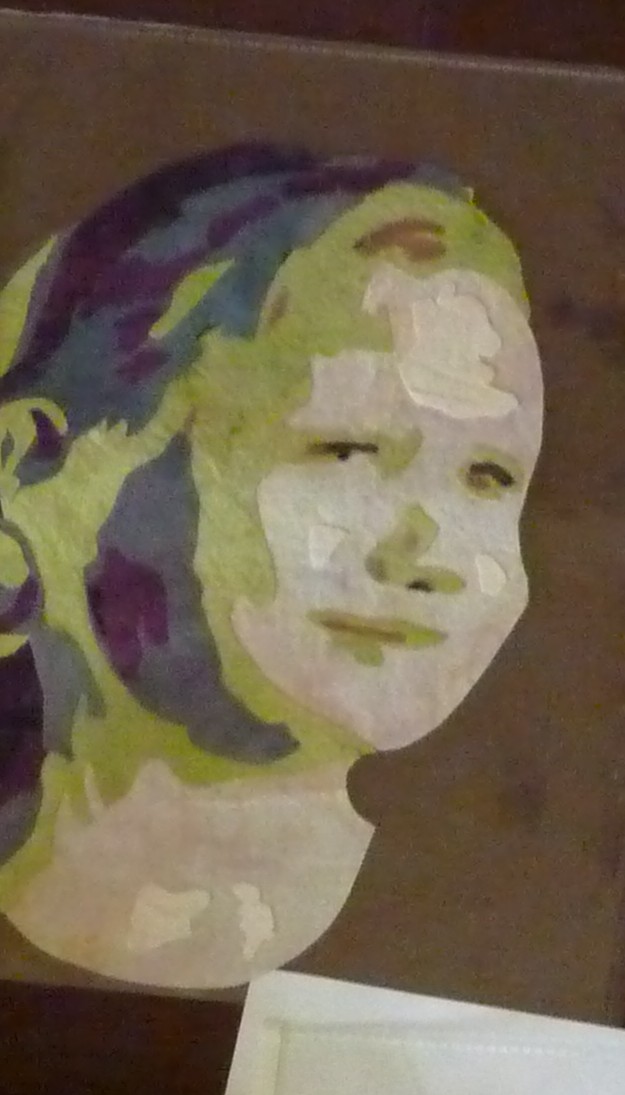
- Choose a photo with nice contrast. For faces; make sure there are some shadows to delineate the features. For example, I used this Polaroid taken by my father when I was little.
- Lighting from the side is always good; flash photos may not have enough shadows.
- Decide either the original colors from the photo or values of any colors
- If you are not using the colors from the original, then change it to black and white:
Enhance… Convert to black and white - Now, convert it to a “values” picture. In Photoshop Elements: Filter… Artistic… cutouts. Try different number of levels from 4 to 7. The best choice depends on the picture.

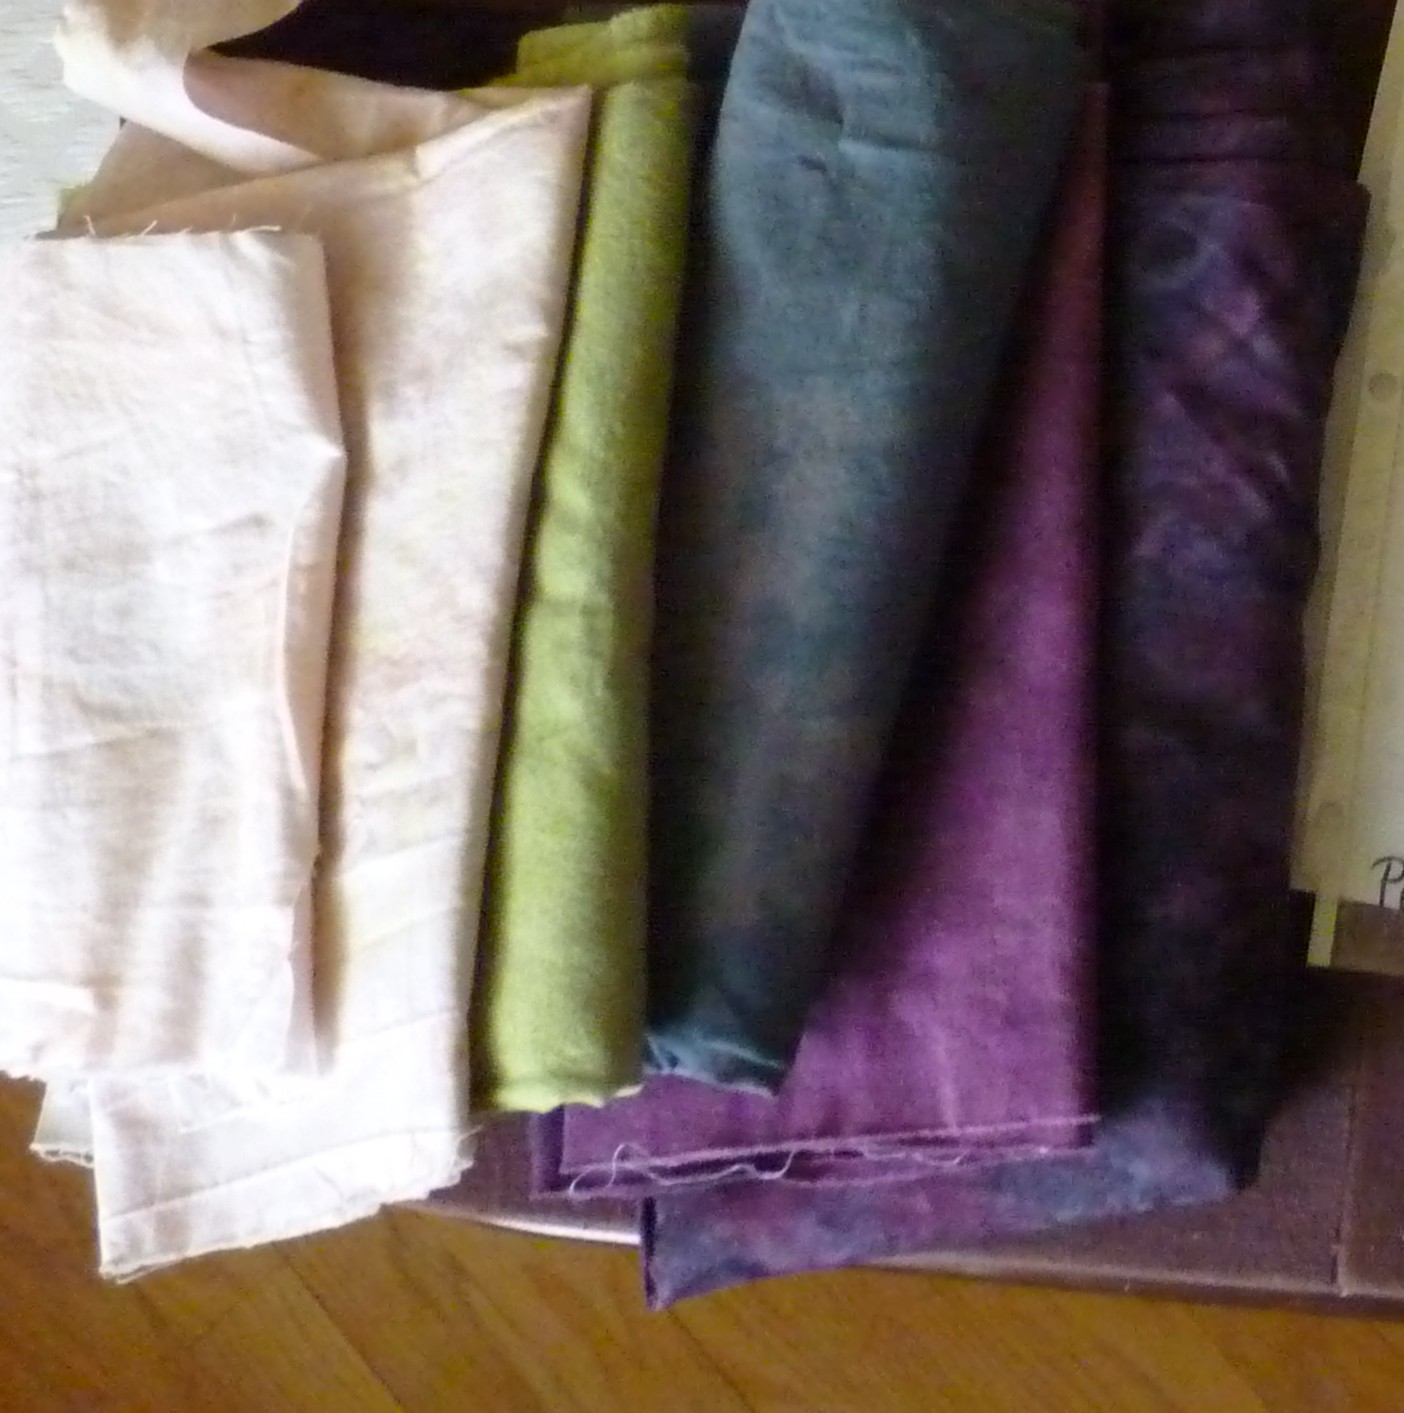
- Choose fabrics
- Original colors: about 4 value levels in any given color family; like face vs. clothes & hair.
- Free colors: use the black & white tweaked photo with 5-7 value levels in any colors you like. Previously, I always used realistic colors, but this time I experimented.
- Avoid contrast in any one fabric; want constant value.
- Cut fabric
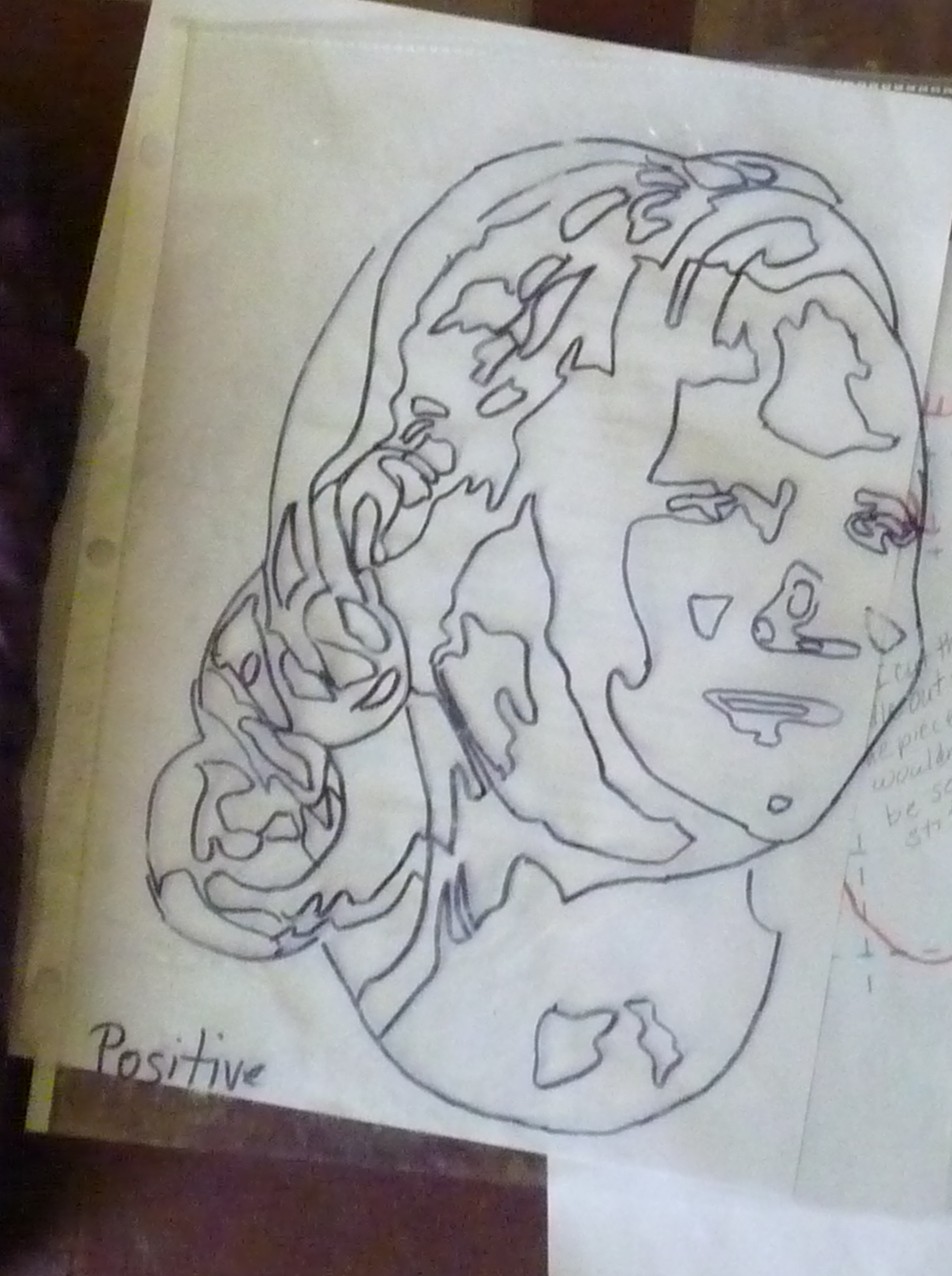
- Make a “placement diagram” by tracing face edges onto plastic with a sharpie and write POSITIVE on it
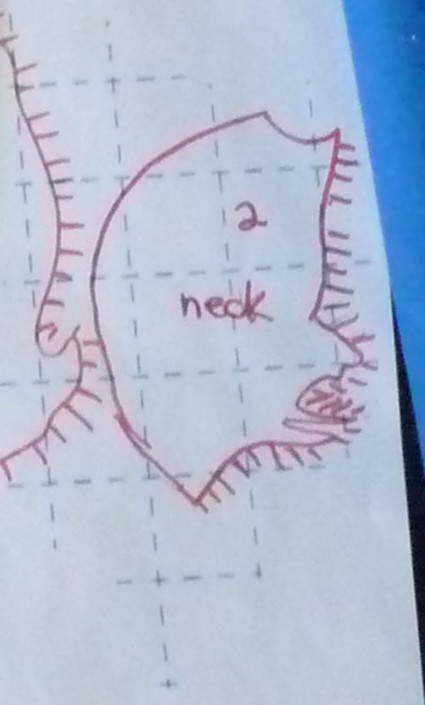
- With placement plastic upside down, trace individual shapes onto grid side of fusible leaving some space for overlapping.. leave at least 1 edge “extra” to tuck under another shape. (I draw “hair” sticking out where I don’t want to cut tight) Cut out loosely.
- For tiny dark bits, don’t make patterns. Add those details later with markers, paint, or pens.
- Fuse all the shapes for each fabric level onto BACK of fabric. Cut on shape line; except for the “tuck under” edges


- Build the photo
- Use an applique pressing cloth for a base
- Arrange the pieces under your plastic placement diagram nudging into place.
- Set aside the plastic diagram (it’ll melt), cover w/ your pressing cloth & fuse together.
- Finish
- Fuse your motif onto the quilt.
- Anchor all pieces with stitch of choice. I used a free motion zigzag with invisible thread. Other choices: the “snow” stitch (#105 on a Bernina), just free motion around like Tammie Bowser.
- Quilting: either quilt A LOT or not at all. Don’t mimic the color edges; those are not muscle edges and look funny. Actual edges like a nose or ear profile work.
- Invisible thread works, but hair likes colored thread work.
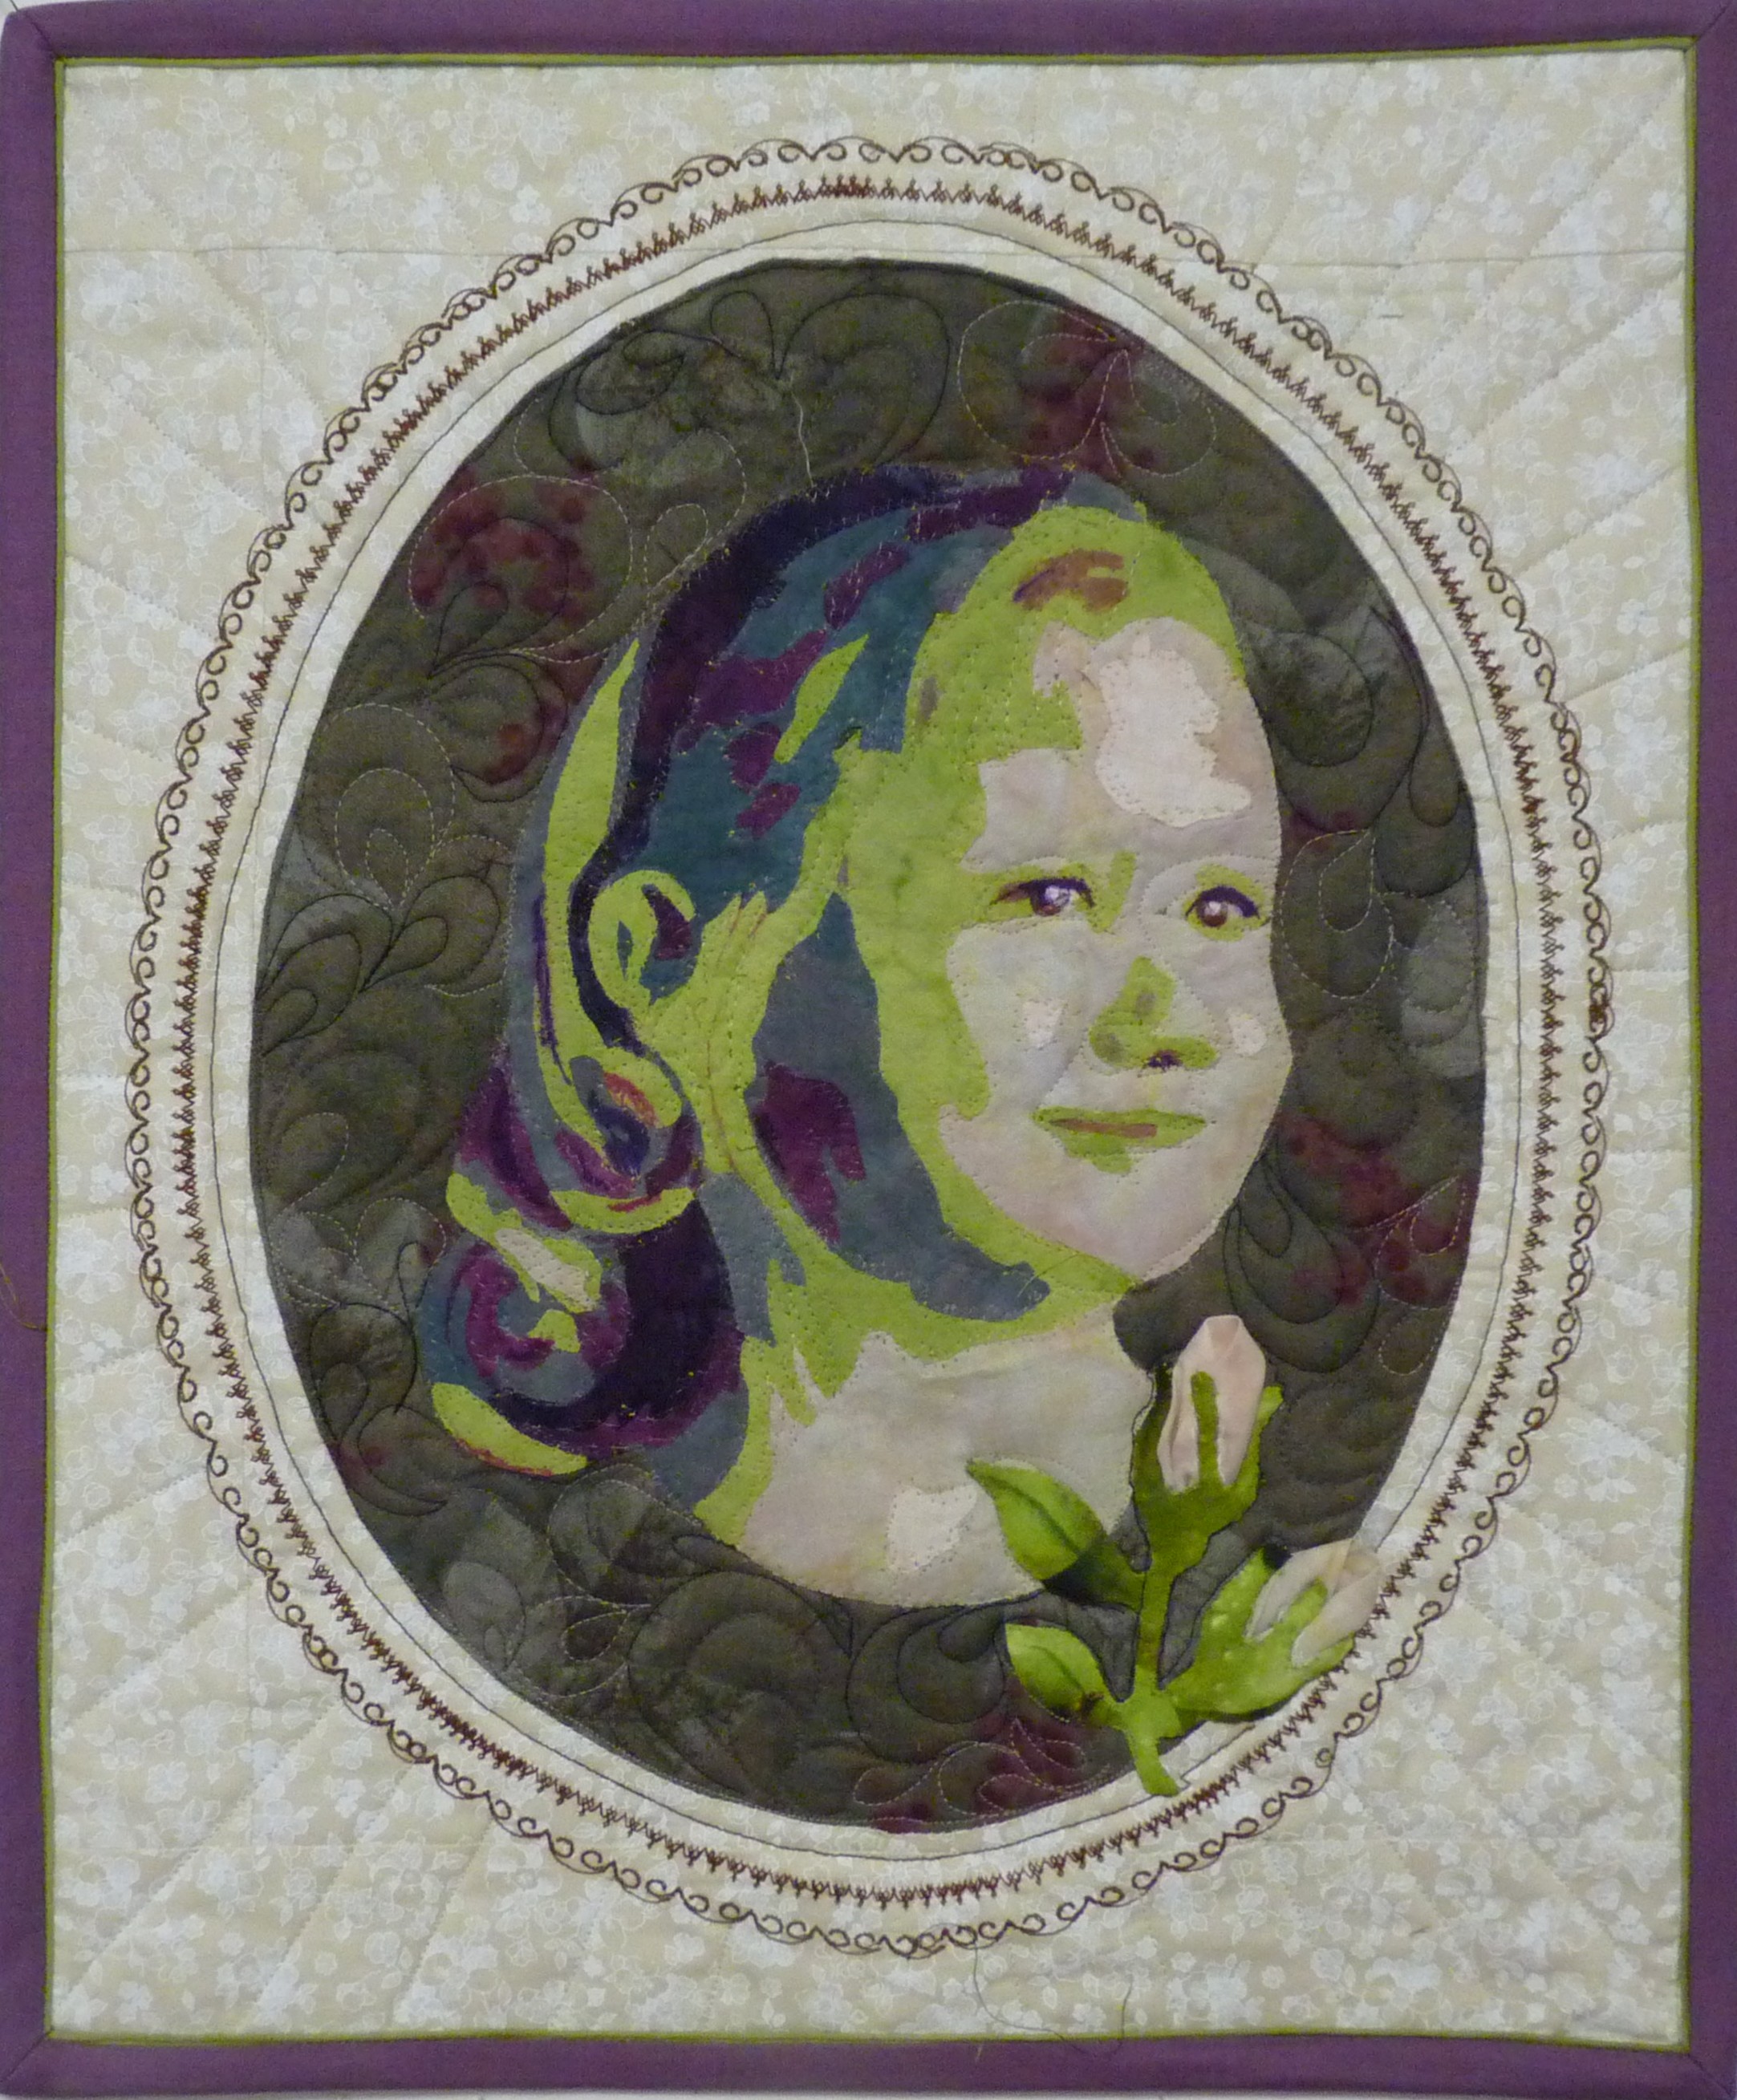
— Susan Kraterfield

This is wonderful. Thank you Susan.