FAQ

Photos in Fabric

Converting a photo to fabric takes fewer artist genes than you might think. My secret is using software to manipulate the photo into a “values” picture to use as a pattern. My package is Adobe’s Photoshop Elements 10 on Windows, but there are several alternatives, each with their own lingo:

  • Picasa: free download from http://picasa.google.com/. “Crop” is in the 1st menu tab. “posterize” in the 4th menu tab (“more fun and useful photo editing”) does the values thing.
  • Corel Paintshop Pro $30 on Amazon: contours, posterize, and topology. Demo available
  • Tammie Bowser’s is $99 and up.

My directions below use the Photoshop Elements names for the various tools.

Supplies:

    • Photo (to which you have rights) scanned into computer.
    • Clear plastic to make a pattern (e.g. a clear photo sleeve protector or a shower curtain)
    • Dark sharpie
    • 7 or so fabrics; graded from light to dark.
    • Steam-a-seam-2-lite
    • Scissors for cutting paper
    • Iron
    • Applique Pressing Sheet (fusible won’t stick.)

pretty susanSteps:

  1. Choose a photo with nice contrast. For faces; make sure there are some shadows to delineate the features.  For example, I used this Polaroid taken by my father when I was little.
    • Lighting from the side is always good; flash photos may not have enough shadows.
    • Decide either the original colors from the photo or values of any colors
  2. If you are not using the colors from the original, then change it to black and white:
    Enhance… Convert to black and white
  3. Now, convert it to a “values” picture. In Photoshop Elements: Filter… Artistic… cutouts.  Try different number of levels from 4 to 7.  The best choice depends on the picture.

pretty susan cutouts   portraits pallette

  1. Choose fabrics
    • Original colors: about 4 value levels in any given color family; like face vs. clothes & hair.
    • Free colors: use the black & white tweaked photo with 5-7 value levels in any colors you like.  Previously, I always used realistic colors, but this time I experimented.
    • Avoid contrast in any one fabric; want constant value.
  1. Cut fabric
    1. Make a “placement diagram” by tracing face edges onto plastic with a sharpie and write POSITIVE on it
    2. With placement plastic upside down, trace individual shapes onto grid side of fusible leaving some space for overlapping.. leave at least 1 edge “extra” to tuck under another shape. (I draw “hair” sticking out where I don’t want to cut tight) Cut out loosely.
    3. For tiny dark bits, don’t make patterns.  Add those details later with markers, paint, or pens.
    4. Fuse all the shapes for each fabric level onto BACK of fabric.  Cut on shape line; except for the “tuck under” edges

    portraits diagram   portraits fusible    portraits fused

  2. Build the photo
    1. Use an applique pressing cloth for a base
    2. Arrange the pieces under your plastic placement diagram nudging into place.
    3. Set aside the plastic diagram (it’ll melt), cover w/ your pressing cloth & fuse together.
  1. Finish
    1. Fuse your motif onto the quilt.
    2. Anchor all pieces with stitch of choice. I used a free motion zigzag with invisible thread.  Other choices: the “snow” stitch (#105 on a Bernina), just free motion around like Tammie Bowser.
    3. Quilting: either quilt A LOT or not at all. Don’t mimic the color edges; those are not muscle edges and look funny. Actual edges like a nose or ear profile work.
    4. Invisible thread works, but hair likes colored thread work.

Daddys Girl

— Susan Kraterfield

FAQ

Custom Fabric for Regular People on Spoonflower

spoonflower Years ago, Linda Greene introduced us to Spoonflower by handing out little welcome packs at guild, but the whole thing seemed way “out there” to me at the time.  It took my hip daughter Elizabeth to kick me into gear this year.

tea towelsIn honor of my niece’s wedding, Elizabeth found this great project online: How to Turn Handwritten Recipes into Tea Towels. I couldn’t improve on the instructions in that blog if I tried, so I’ll just give you a précis… Scan in 3×5 recipe cards and arrange them in a JPG sizing the result to 36”x54”. Then order 1 yard of that design in Linen-Cotton Canvas. When it comes, cut them apart & hem.

The entire time I was working on the towels not-exactly-yardage projects popped into my head.  The Linen-Cotton Canvas would be a fabulous customized chef’s apron with a collage of personal memorabilia.  You could design your own “panel” for a round robin center. You could arrange perfect wedges of a floral closeup to build your own kaleidoscope or stack-n-whack.   The result would be much better ink and larger formats than our inkjet printers, easier, not particularly expensive considering the costs of inkjet cartridges and fabric for printing.  You could even design custom quilt labels and order just a $5 swatch by positioning your swatch correctly on your design.

Want to get started?

  • Create a Spoonflower account –free.
  • Make your design using photo software of your choice. DPI (dots per inch) is important – Spoonflower likes 150. You’ll find lots of advice & tips in the FAQs.
  • Upload your design to Spoonflower – free.
  • Order a $5 swatch (8”x8”) to test your colors, fabric, and image quality.
  • Order the fabric. The price depends on what fabric you order. Kona Cotton quilting weight is $16.50 for 42×36, and the Linen-Cotton Canvas is $24.30 for 54×36. Here’s the whole list: Products & Pricing


Susan Kraterfield

FAQ

Betty’s Scrappy Spider Web Tutorial

Thank you quilters for all the help you have been in making these charity quilts. Here are the directions on how I found best to make them.  –Betty Tyree

Supplies needed:

Paper, triangle template or rotary ruler, scissors, rotary cutter, Kite template and lots of strings or scraps

I use the Marti Michelle Multi size kite template along with a 12″ setting triangle template.

This will make approximately a 17″ block when using 4 triangles.

Paper triangles

I found a large Doodle Paper Pad  (12″ X 18”) at Ollie’s in Salem for $3.59 that contains 200 sheets of newsprint.  I can cut 3 different size triangles from each sheet.  I use the strip tube triangle template and it matches the Missouri Quilt Clubs Papers and Kites. (10″) and a smaller triangle that could be used for string pieced flying geese. (To be worked out later)
rulers

Kite

Using the largest size Template cut out enough kites for your project.  A six-inch strip will give you 8 kites.

Strings

Left over and ugly fabric that you want to get rid of cut in random sizes anywhere between 1 1/2″ to 3″

strings

Directions

Set machine stitch slightly higher and use a larger needle as you would for paper piecing.

Secure Kite to center of triangle either by pin or glue. I will sit at night watching TV and Glue a stack of kites to triangles.

directions1directions2

Choose a string and place right side down on top of the Kite aligning the raw edges.  Sew on top of the string through the paper using a slightly larger seam allowance than ¼”.  Flip the string right side out and finger press. Repeat on the other side of Kite.  This is the only time that you will sew through the paper.

directions3directions4

Lay the next string right side down, on top of the first strip.  Before sewing fold the paper back and stitch only through the fabric.

directions5directions6a
Keep adding strings using the paper only as a guide.  Alternate sides until you get approximately 3″ to 4″ from tip. It is important to leave plenty of room for a large piece at the ends of the triangles.  You do not want seams close to the ends. When you are sewing the blocks together it is easier not to have extra seams that will add bulk.

directions7

Tip: Sometimes I sew small or thin pieces together before adding to the triangle.


directions10

Add a large piece of fabric making sure the complete triangle is covered.

Lay the Triangle right side up on the ironing board, spray with starch, let soak in a minute and give a good press.

directions11directions12

Flip triangle right side down (paper side up) on a cutting mat and trim with rotary cutter and ruler along paper edges.

directions13directions14

Remove papers from the triangles carefully.  You should only have 3 pieces.  YEA!

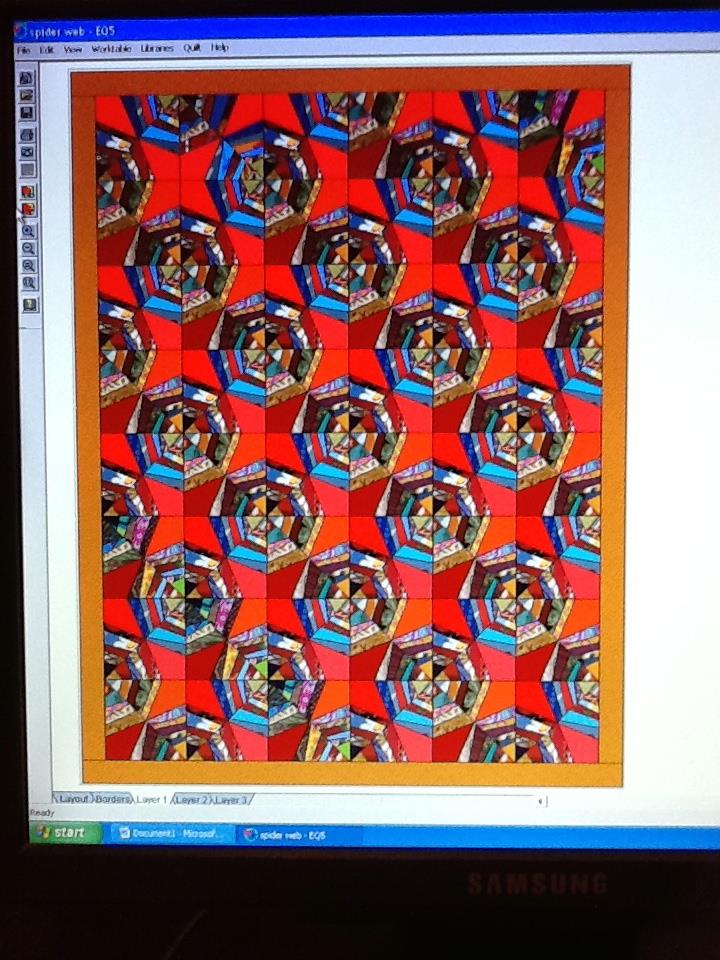
I have 2  block layouts for the string quilts
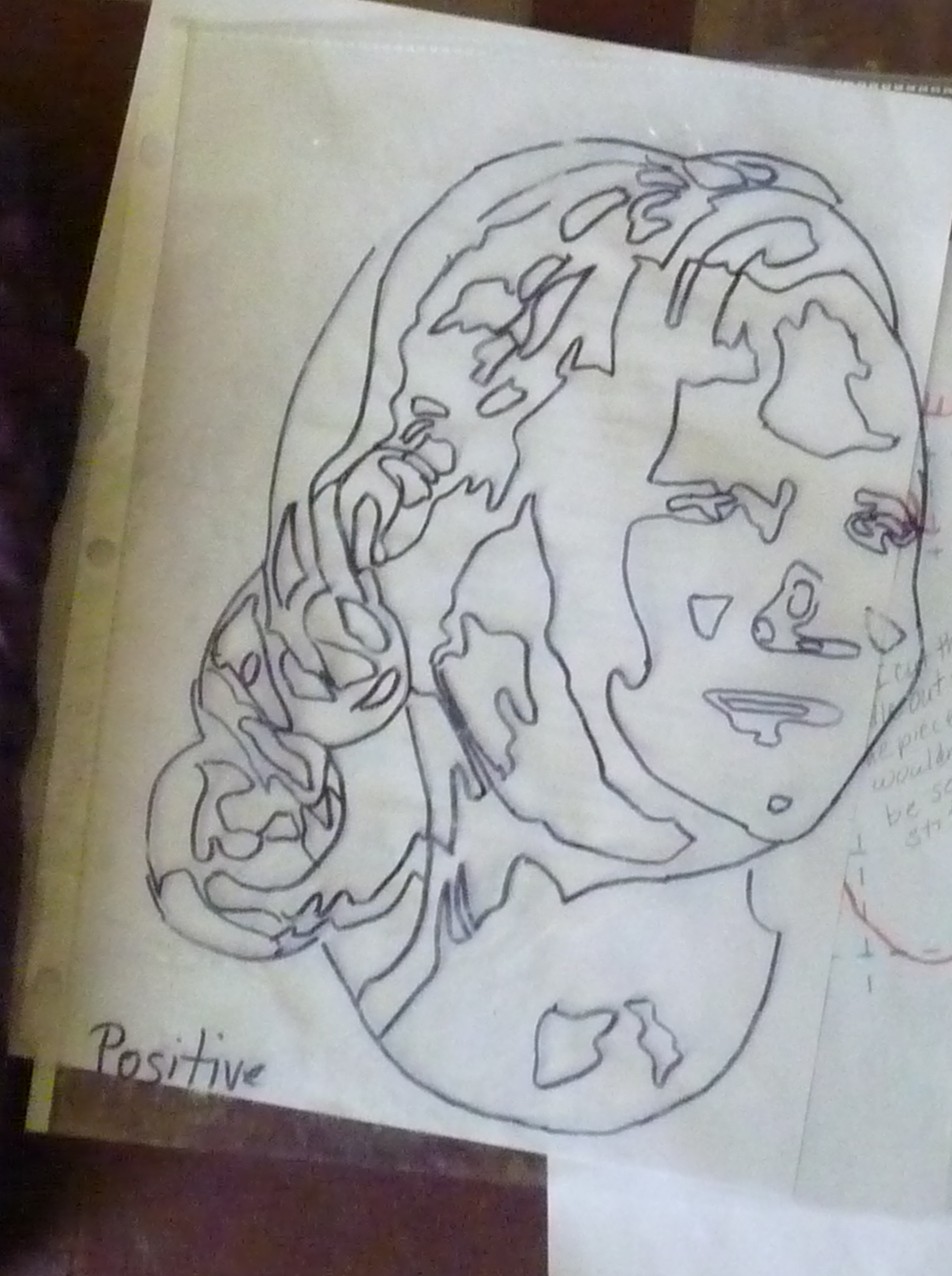
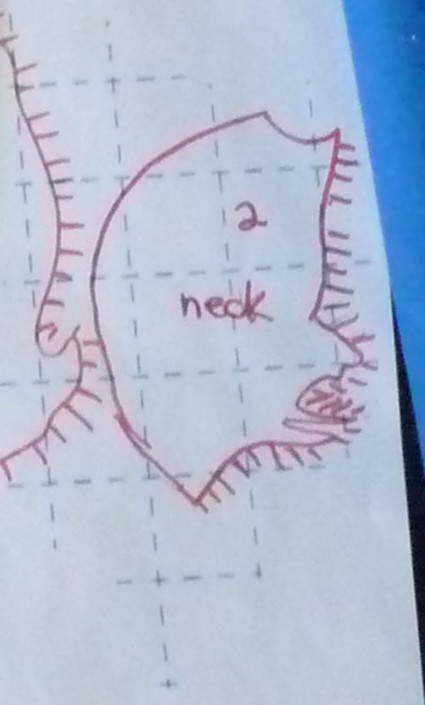
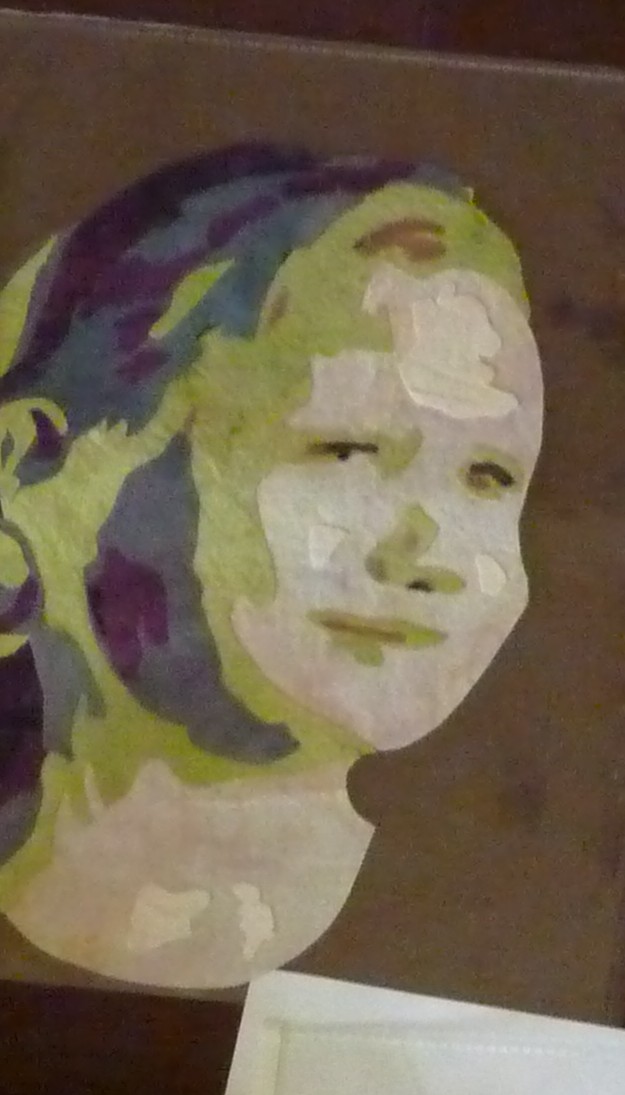
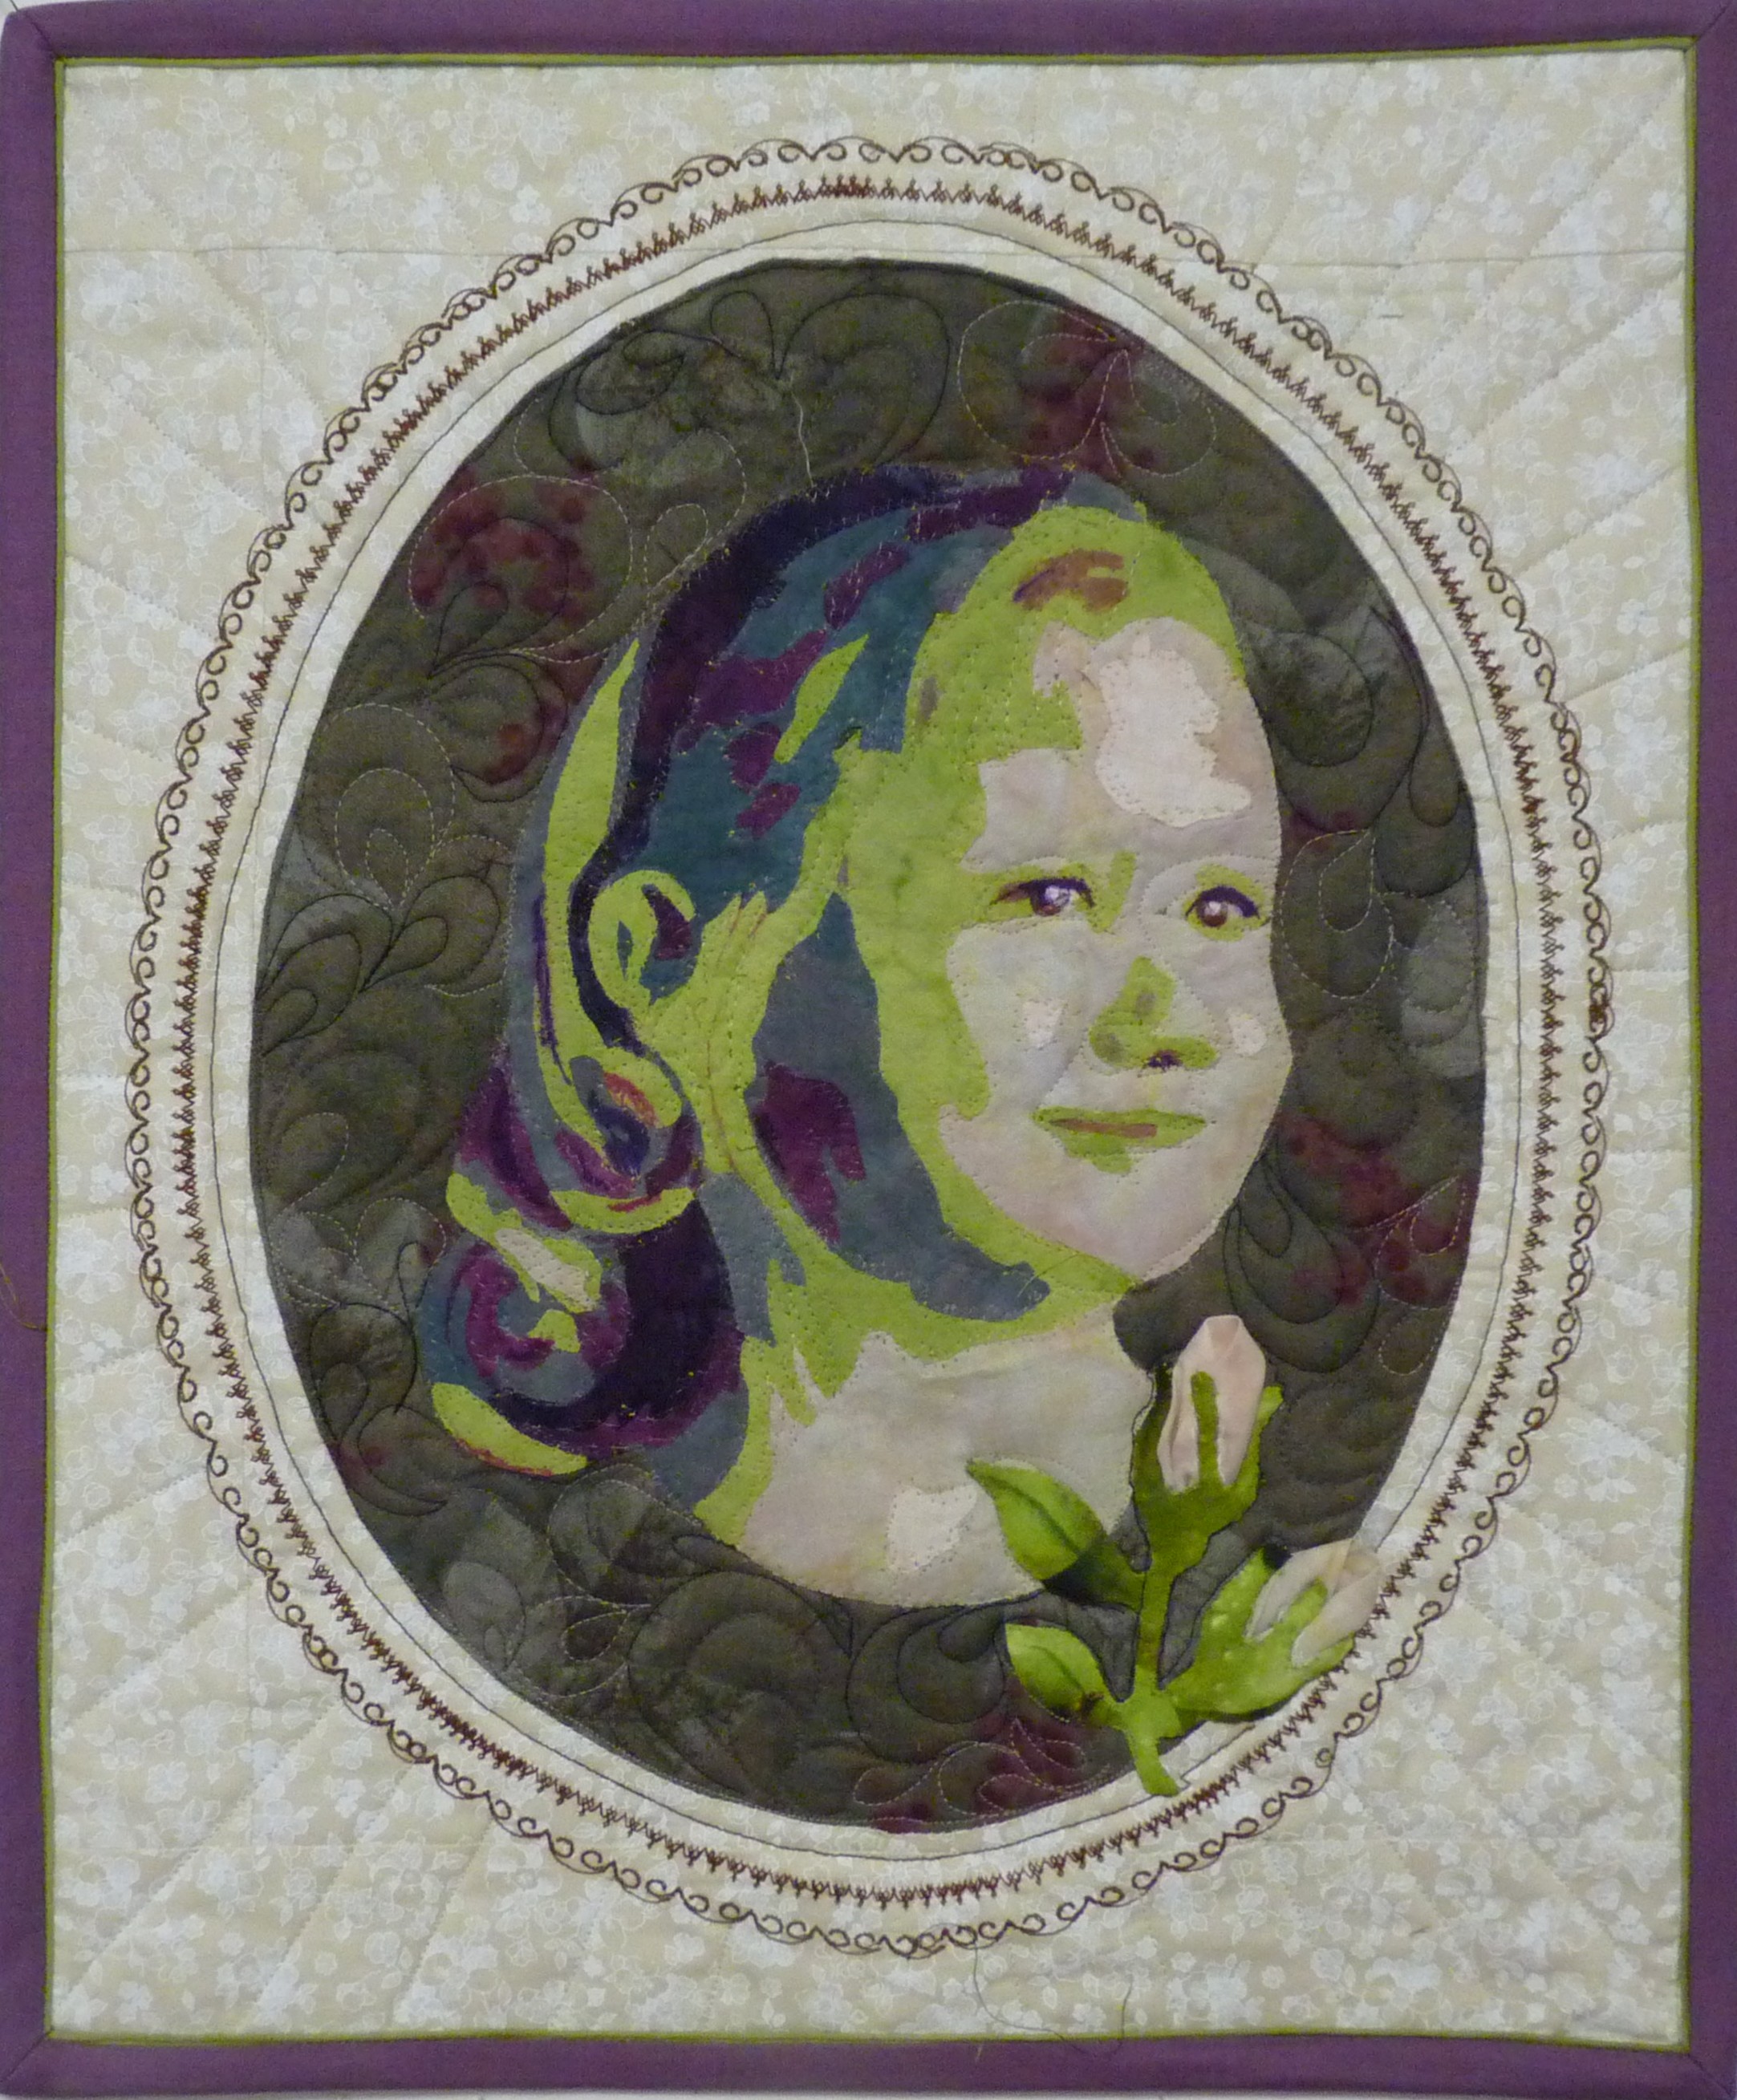
layouts1 layouts2

eq1 eq2

FAQ

Needleturn Appliqué Tutorial

(from Kristin Hamilton’s 6:30 class at Nov Guild meeting)

The first rule of needle-turn appliqué is that there really are no rules for needle-turn appliqué. There are many different methods, so keep trying until you find one you love!

Supplies

Essentials:

  • Scissors:  good, sharp, small embroidery scissors
  • Hand sewing needles:  I prefer size 11 straw needles
  • Thread to match appliqué: 50-weight cotton or silk
  • Fabric:  100% cotton
  • Bias tape maker or bias bars for vines

Optional; depending on technique you choose

  • Freezer paper Thimble, if you use one
  • Sandpaper board
  • Clear vinyl, for placement overlay
  • Apliqué glue

Various Methods:

I’ve taken several appliqué classes and I use a variety of the techniques I’ve learned.  Here are a few.

  • Freezer paper on top – glue or baste to background (demo)
  • Freezer paper or plastic templates on the back – press around
  • Tracing onto fabric – uses sandpaper board and sequin pins
  • Back-basting (demo) – trace design onto wrong side of background.  Lay appliqué fabric over top, flip, and baste around line on back – ON the line.  Trim away on the front leaving seam allowance.  Chalk-mark at basting stitches if necessary, and then remove a few at a time as you appliqué.

Tips to remember:

  • A ¼” seam allowance is too big.  3/16” is ideal.
  • Start on a “boring” stretch – not a curve, corner or point
  • Snip inside curves but leave outside curves alone
  • On points, fold in one side, trim overlap, extend the point with thread, and fold in the other side
  • On inside “V”s – clip to ALMOST the line, use the needle to “swoop” the fabric in on either side, and take an extra stitch or two inside the V to secure

Other Resources

Googling a number of these terms, including “needle-turn appliqué” or “back-basting” is helpful.  Alex Anderson does a series of video tutorials on her website, and there are probably others on YouTube.  Some of my favorite appliqué-focused blogs include http://www.allaboutapplique.net which also links to many of the appliqué designers’ sites as well.

 By Kristen Hamilton
http://tenquilts.blogspot.com

There was much discussion during the meeting about the difficulty of threading these straw needles with fine thread.  Here are some shots of the threader some of us use with ease.. <pictures of threaders omitted>

FAQ

Harmonic Convergence Calculator

These quilts are supposed to be somewhat spontaneous and a surprise, but I don’t want to completely surprised by how large or small the final convergence turns out to be.

These lists show the finished width of a convergence based on a starting strip size & the size of the increase for each strip. The “normal” one on the left starts with 1 inch and increases by a half inch. The “miniature” one starts with 3-quarter inch and increases only by a quarter inch.

They are cumulative… cut as many strips as desired starting from the top of the list.

  • Fabric Size:  required width of fabric needed to make a convergence using all the rows from top to this one.
  • Strip Cut Size: size of each successive cut strip
  • Converged width: the final finished size of a convergence of 2 fabrics using all the rows from 1 to this one
Normal Miniature
Fabric size strip cut size converged width Fabric size strip cut size converged width
1 1 1 1.5 0.75 0.5
2.5 1.5 3 2.5 1 1.5
4.5 2 6 3.75 1.25 3
7 2.5 10 5.25 1.5 5
10 3 15 7 1.75 7.5
13.5 3.5 21 9 2 10.5
17.5 4 28 11.25 2.25 14
22 4.5 36 13.75 2.5 18
27 5 45 16.5 2.75 22.5
32.5 5.5 55 19.5 3 27.5
38.5 6 66 22.75 3.25 33

Don’t forget to leave a final piece of fabric AT LEAST as width as your last cut strip.

If you need more information to know what this is all about; Ricky Tims is the man! Here’s his gallery

FAQ

Gluing your Quilt Binding

or.. my lazy version of Sharon Schamber’s fastidious fashion

Oct 3 pre-meeting Technique Class by Loretta Twiford

Reference: http://www.YouTube.com search for Sharon Schamber. The video(s) to watch for this reference are Binding The Angel; there is a Part 1, Part 2 and Part 3.

Here is the site for Part 1:  http://www.youtube.com/user/SharonSchamberNet#p/a/AAF390EBC02BDD33/0/4PE0Yq9iGlc.  It is soooo much easier just to go to http://www.YouTube.com and search Sharon Schamber !!!  She has many informative videos available for viewing.

Preparing the Binding

In Binding The Angel Part 1 she goes into detail about preparing the binding fabric, cutting it, and her method of preparing/attaching the binding strips together.  Different!
  • You lay out your binding strip and the right end of each piece, you fold the end back to a 45 degree angle and press.  Oh, except the last piece, of course.
  • Then, place a thin line of glue on the 45 degree fold line of the first strip and lay the left end of the second strip on the right end of the first strip, matching carefully; then press with a hot iron to set the glue.
  • After gluing all the strips together, you then sew on the fold line of each strip, pop open to break the glue so you can trim to 1/4″ and iron the seam open.

She then goes into a step-by-step about gluing your binding. This she does one side at a time, taking care not to use too much glue. She stresses that in order for the glue to adhere, it needs a press with a hot iron.

By doing this, you can prepare the binding for your whole quilt and it can travel with you for hand sewing at your convenience, or it will patiently wait for you to machine stitch it.Elmer’s School Glue is washable and will completely wash out of your quilt without staining !

Sharon Schamber’s videos are very informative; I recommend you watch them a couple of times and bookmark for future reference !

 Joining the binding ends:

 In Binding The Angel Part 2, she shows a fascinating way of attaching the beginning/end pieces of your binding – no strain, no pain !!
(this presupposes that you have starched your binding and that the 2 layers are adhesed together)
  • Flip end of left binding back about 3″ and give press mark.
  • Pull left binding open.
  • Fold over at press mark for 45 degree angle and press.
  • Lay it back on quilt with 45 degree angle showing, tag end hanging down.
  • Pull right side binding over and cut off all but about 3″ to 4″ beyond the left binding.
  • Open left binding, put line of glue on 45 degree fold line.
  • Put closed right binding over the open left, position and press
  • scrunch up quilt, pull binding out onto flat surface
  • Open right binding, line up with left binding and press
  • Make sure it lays flat and even over the quilt
  • Sew on the 45 degree fold line.
  • Pop open to break glue so you can iron seam open.
  • When you are sure the binding lays flat, trim off tail ends to 1/4″.
  • Press seam open.
  • (see the presupposition at the beginning) Joining the ends has opened the binding out so they are no longer adhesed; run a line of glue down the edge of the inside of the binding strip to adhere the 2 edges of the binding back together.
  • glue binding to quilt and sew
  • Residue on your iron?  When my iron cooled down, I was able to take a wet paper towel and clean all residual glue from it ! Hey, washable glue, right ?? lol

Ta da !

Can you tell I was impressed ?

She also spends some time with the treatment of corners, which is especially important if you enter your quilts in juried shows and desire recognition in ribbon form. One thing I noticed is that when she turns the corner, she takes scissors and pokes all the bulk right into the corner and it really does make a very nice, clean, crisp miter !!

As a comparative sample, I have prepared a piece showing 4 different methods of binding application; pins (ouch!!), clips, clamps and glue, as well as several samples so each of you will be able to try out the glue method yourself.

References:

http://www.theclipstore.com
Smart Clipper
Small Refills (50)

Binding & Hem Clips

http://www.petalplay.com
Glue-Baste-It (comes with fine applicator tip)