
January 2011 Newsletter
Dec 2010 Newsletter
Interested in an EQ demo or lab?
Electric Quit (EQ) overwhelms many quilters when they first start using it. Sometimes they give up trying!
I’ll share what I’ve learned in a Demo at guild meeting, or a lab session. For a demo, I’d project the screen up on the wall so everybody can see. For a lab session, you’d bring your laptop with EQ already installed, or tag along with a friend.
Help me offer the right information by voting in the poll below.
Take My Quick Survey!
Or, just leave a comment on this post.
Photo History: 2011 Raffle Quilt
Block and flower kits were taken by guild members. Once they were all back completed, the center was joined. Next; we laid out where to place the flowers on the center and borders for applique; and the pieces went out again to members.


Layered with the thinnest Quilters’ Dream batting, members are quilting it with traditional outline quilting. It lives for now in Judy’s shop, Creative Quilting on Peter’s Creek Rd. Stop by if you have time to work on it whenever the shop is open. So far (Nov 11) we’ve logged 16 hours quilting.


photos by Kitty DeLapp
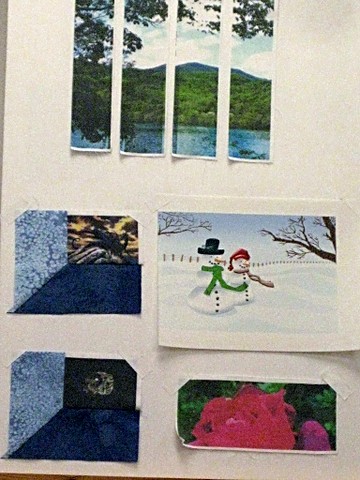
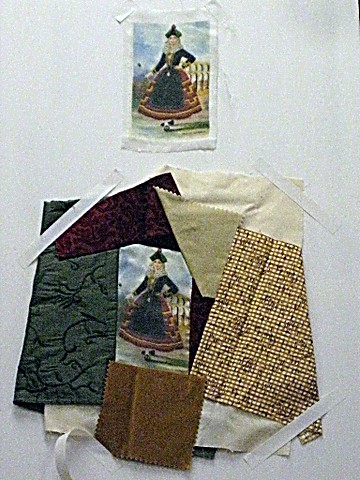
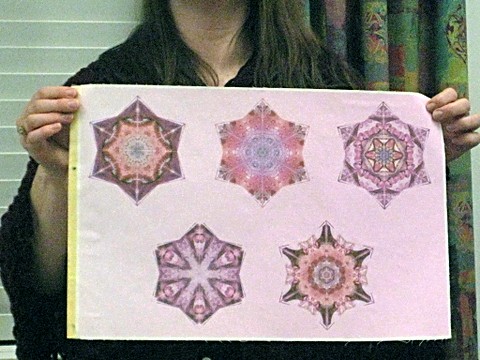
Nov. Program — Pictures and Fabric
Susan Starkey present a program on manipulating photos and using them in fabric projects. Here are few shots to remember it by:
It may be clear as crystal the day you attend a lecture, but later you may have trouble recalling the details. Here is the contact information for our speaker:
Susan R. Starkey
540-871-3328
www.elegantcrafter.com
info@elegantcrafter.com
November 2010 Newsletter
October 2010 Newsletter
September 2010 Newsletter
No newsletter was issued in August. This one covers both August and September:
Raffle Quilt — Appliqué Planning
The star blocks for the raffle quilt are all joined. Last night we got together to work out getting the flowers appliquéd in the inter-block corners and the borders.
For people taking borders:
- You can slide the flower in/out from the center of the quilt, but don’t slide it along the border edge. We attached it in place so that it lands right between the blocks of the center.
- Make the vines a random serpentine, leaving the last 3-4″ free at the ends to adjust the meet up in the corner with it’s neighbor border. There will be a flower appliquéd over the join at the end.
Pictures courtesy of Kitty DeLapp.
