Latest News

Auction coming up! Bring us your goodies

GOING ONCE! GOING TWICE!!

Remember all the items you added to your stash from the last Silent Auction like your Graco FastAction Fold Click Connect Stroller? The Star Quilters will hold another one at the January 11, 2016, meeting.  Cindy King will chair this auction again and she needs to begin collecting items now.  Think downsizing! Turn in those UFOs you’ll never finish! Your “trash” = my “treasure”.

So please bring whatever quilting and sewing related items you can part with to the November 2nd meeting this Monday! A collection area will be set aside.  If you have any questions, call Cindy King at 556-0755 or Tam McBride at 524-0263.

Latest News

Deborah Harris Droog Bio – Aug 2015 Program Presenter

I own and operate Artsavvy Studio. At any given time you may find me working there in multiple Medias which usually includes a lot of fabric and machines with thread and paint thrown in. My love for the arts and passing that love on is my mission in life.  My story is simple actually; I was born an artist, a painter and I have had full time careers while working as a mother and wife. I have gone through three careers, nursing, teacher and graphic designer. In the middle of this I spent way too much time on education and thought for a while I may be a professional student. After obtaining my Master’s in Fine Art I realized no more school for me.

I learned to sew at the age of seven and have sewn avidly since.  I started quilting 10 years ago with a crazy quilt project for my red hat chapter. Right after that two friends developed breast cancer and so two pink quilts were made.  By this time I am seeing the light so to speak. After a crash orientation in the quilt world I realized that my artist spirit could find solace in quilting.  Designing, teaching and total immersion in quilting is my day to day.

My teaching classes/workshops include:

  • Creativity for the Masses
  • Painting and Quilting Get Married
  • Color Theory for the Quilter
  • Free Motion and Taking Command
  • Thread Painting
  • Art Quilts and No Mysteries

Contact Info:
960 Turkey Foot Road
Forest VA 24551
434-942-8303
artsavvy@verizon.net

FAQ · mini-demo

Back Baste Appliqué – 6:00 demo Aug 2015

I substituted for Linda Cronise.  I do lots of hand appliqué, but I hadn’t done this particular method before the demo.  I found a tutorial on-line to guide me.

More notes on my experiences:

  • I use 50 weight silk thread matching the applique piece.
  • Size 10 Straw Needles from Foxglove Cottage are my favorite.
  • Clover needle threader
  • DON’T clip any outside curves; just sweep the seam allowance under with your needle for 1 or 2 stitches at a time.  You’ll get lovely smooth curves.
  • Clip inside curves almost to the turn line.  When sweeping under, pull it fairly tight to make it a smooth curve past the clip point.
  • Points: this video is very similar to the way I do my corners.  Except — she omits my cheat of an “eyelash” stitch straight out from the end of the point to fool the eye about the point sharpness.  The video shows inside corners as well.

We had an appliqué demo in 2011 as well.  Use that as another perspective on the process.

— Susan Kraterfield

FAQ

Orphan Blocks – Handout from June 2015 program

Quilt blocks that are leftover from a project or blocks that were test or practice blocks.

Other names: leftovers, part of an UFO ,WlP, (3.1 (Good Intentions) or PhD(Project half Done), reject, false start , OOPS, re-do, “What was I thinking?” , and Treasures in Reserve.

The Wisdom of Orphan Blocks: “Take something imperfect and unloved and give it a home in a completed quilt!” Tricia Lynn Maloney

Orphan blocks can be used for:

Practice square for hand or machine quilting
Practice square for new technique
Pillows
Wall Hangings
Potholder or hot pad
Case for eyeglasses or rotary cutter
Tote bag or pocket or a tote bag
Mated with other blocks for a quilt
Center for a Round Robin quilt or a medallion quilt
Pincushion
Needlecase (tutorial @ patchworkposse.com)
Table runner
Sewing table, remote or bedside pockets
Block for calendar
Coin or jewelry purse
Bookcover
Sewing machine cover
Gift bag or Decorative box cover
Patchwork Stuffed Dolls or Animals
Wrist pillow
Online orphan block challenges
Sell, Giveaway and/or Trade

A few websites to check out:

orphanquilter.com
quilting.about.com
http://www.mccallsquilting.com
sewjournal.com
quiltingismorefunthanhousework.blogspot.com

— Kathy Wickham

Latest News

Secret Quilting Pal Questionnaire

Starting in July, we are going to do SECRET QUILT PAL. If you would like to be part of this, please return your questionnaire  to me at the July meeting or email it back to me. This is a way of getting to know another member. You will draw another member’s questionnaire at the July meeting. (Do not tell them you have their questionnaire. It’s a secret!) Each month, bring a card or a little something costing less than $3, and in their birthday month not over $5.00. (You don’t need to spend any money if you don’t want to. We all have plenty in our stash we can share.) We will have a table which will be used as a Post Office each month. At the July 2016 meeting, reveal who you are to your Secret Quilt Pal. Any questions, please email me. — Ann Ware

Secret Pal Questionnaire

FAQ

Photos in Fabric

Converting a photo to fabric takes fewer artist genes than you might think. My secret is using software to manipulate the photo into a “values” picture to use as a pattern. My package is Adobe’s Photoshop Elements 10 on Windows, but there are several alternatives, each with their own lingo:

  • Picasa: free download from http://picasa.google.com/. “Crop” is in the 1st menu tab. “posterize” in the 4th menu tab (“more fun and useful photo editing”) does the values thing.
  • Corel Paintshop Pro $30 on Amazon: contours, posterize, and topology. Demo available
  • Tammie Bowser’s is $99 and up.

My directions below use the Photoshop Elements names for the various tools.

Supplies:

    • Photo (to which you have rights) scanned into computer.
    • Clear plastic to make a pattern (e.g. a clear photo sleeve protector or a shower curtain)
    • Dark sharpie
    • 7 or so fabrics; graded from light to dark.
    • Steam-a-seam-2-lite
    • Scissors for cutting paper
    • Iron
    • Applique Pressing Sheet (fusible won’t stick.)

pretty susanSteps:

  1. Choose a photo with nice contrast. For faces; make sure there are some shadows to delineate the features.  For example, I used this Polaroid taken by my father when I was little.
    • Lighting from the side is always good; flash photos may not have enough shadows.
    • Decide either the original colors from the photo or values of any colors
  2. If you are not using the colors from the original, then change it to black and white:
    Enhance… Convert to black and white
  3. Now, convert it to a “values” picture. In Photoshop Elements: Filter… Artistic… cutouts.  Try different number of levels from 4 to 7.  The best choice depends on the picture.

pretty susan cutouts   portraits pallette

  1. Choose fabrics
    • Original colors: about 4 value levels in any given color family; like face vs. clothes & hair.
    • Free colors: use the black & white tweaked photo with 5-7 value levels in any colors you like.  Previously, I always used realistic colors, but this time I experimented.
    • Avoid contrast in any one fabric; want constant value.
  1. Cut fabric
    1. Make a “placement diagram” by tracing face edges onto plastic with a sharpie and write POSITIVE on it
    2. With placement plastic upside down, trace individual shapes onto grid side of fusible leaving some space for overlapping.. leave at least 1 edge “extra” to tuck under another shape. (I draw “hair” sticking out where I don’t want to cut tight) Cut out loosely.
    3. For tiny dark bits, don’t make patterns.  Add those details later with markers, paint, or pens.
    4. Fuse all the shapes for each fabric level onto BACK of fabric.  Cut on shape line; except for the “tuck under” edges

    portraits diagram   portraits fusible    portraits fused

  2. Build the photo
    1. Use an applique pressing cloth for a base
    2. Arrange the pieces under your plastic placement diagram nudging into place.
    3. Set aside the plastic diagram (it’ll melt), cover w/ your pressing cloth & fuse together.
  1. Finish
    1. Fuse your motif onto the quilt.
    2. Anchor all pieces with stitch of choice. I used a free motion zigzag with invisible thread.  Other choices: the “snow” stitch (#105 on a Bernina), just free motion around like Tammie Bowser.
    3. Quilting: either quilt A LOT or not at all. Don’t mimic the color edges; those are not muscle edges and look funny. Actual edges like a nose or ear profile work.
    4. Invisible thread works, but hair likes colored thread work.

Daddys Girl

— Susan Kraterfield

Latest News

Coming in May: Floyd Guild hosts Art Quilt events

Lecture: “Photos and Quilts”

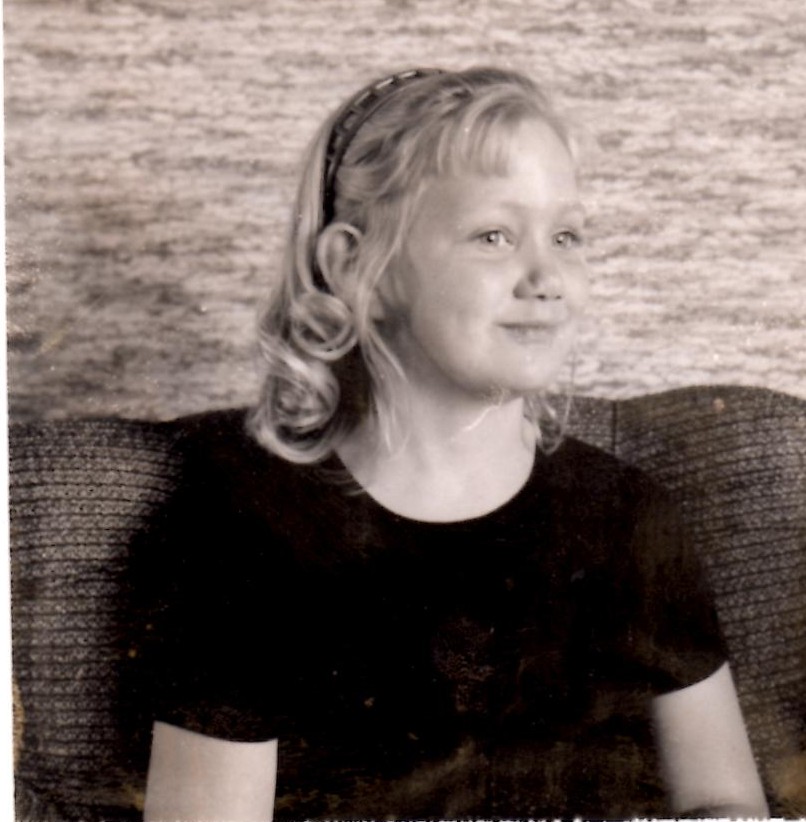
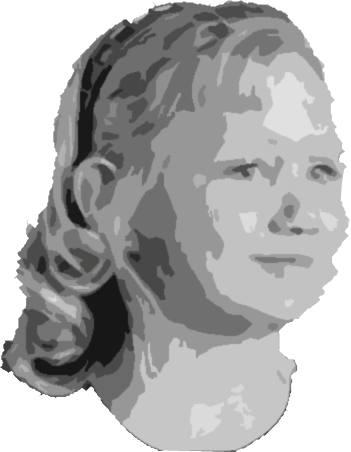
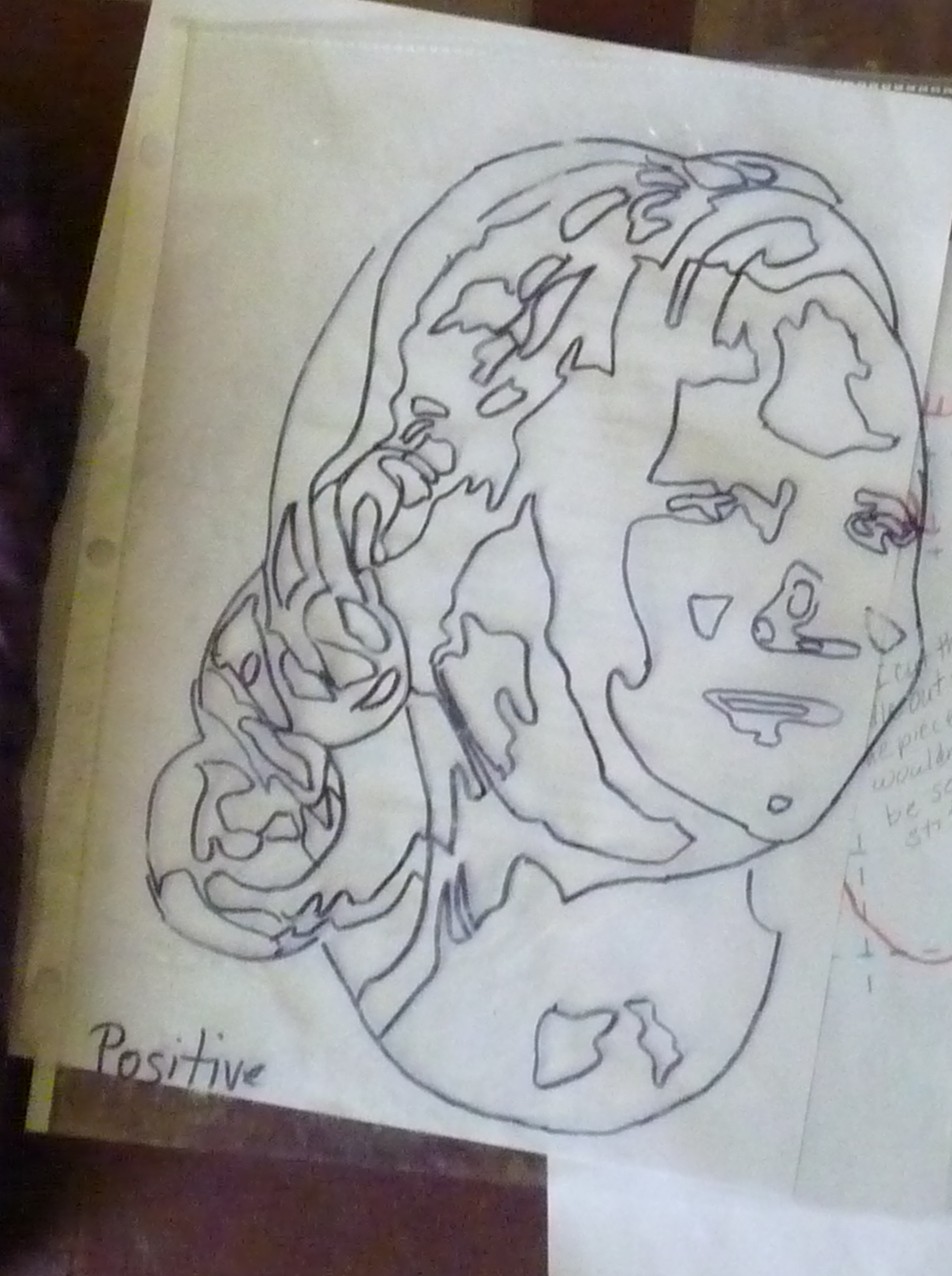
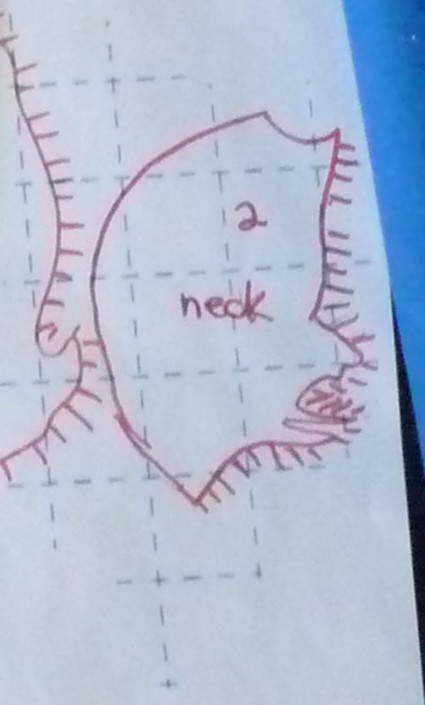
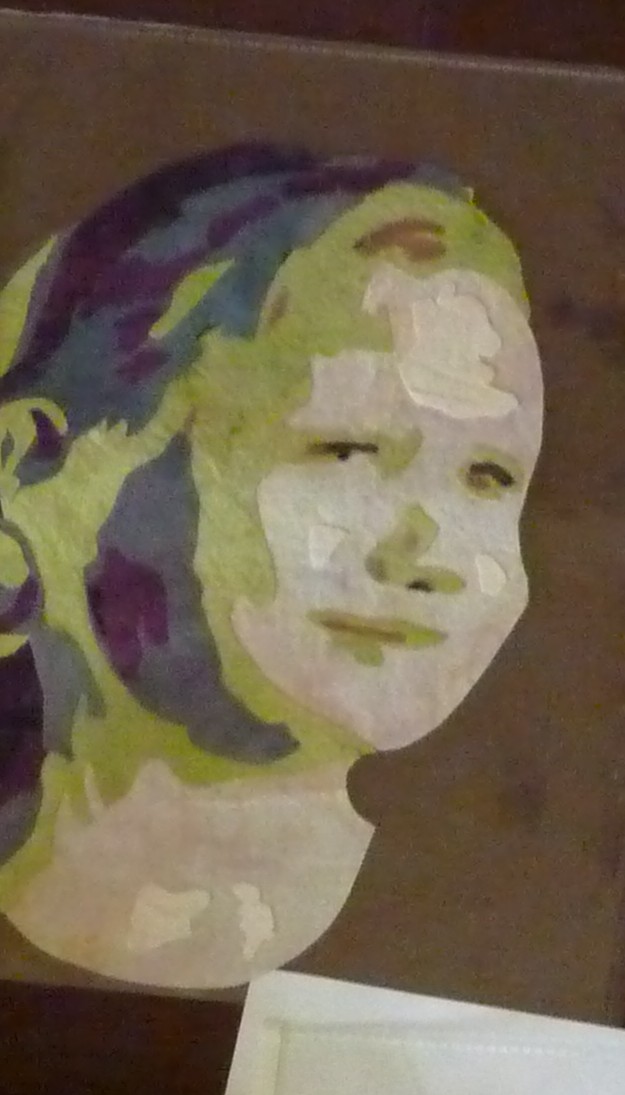
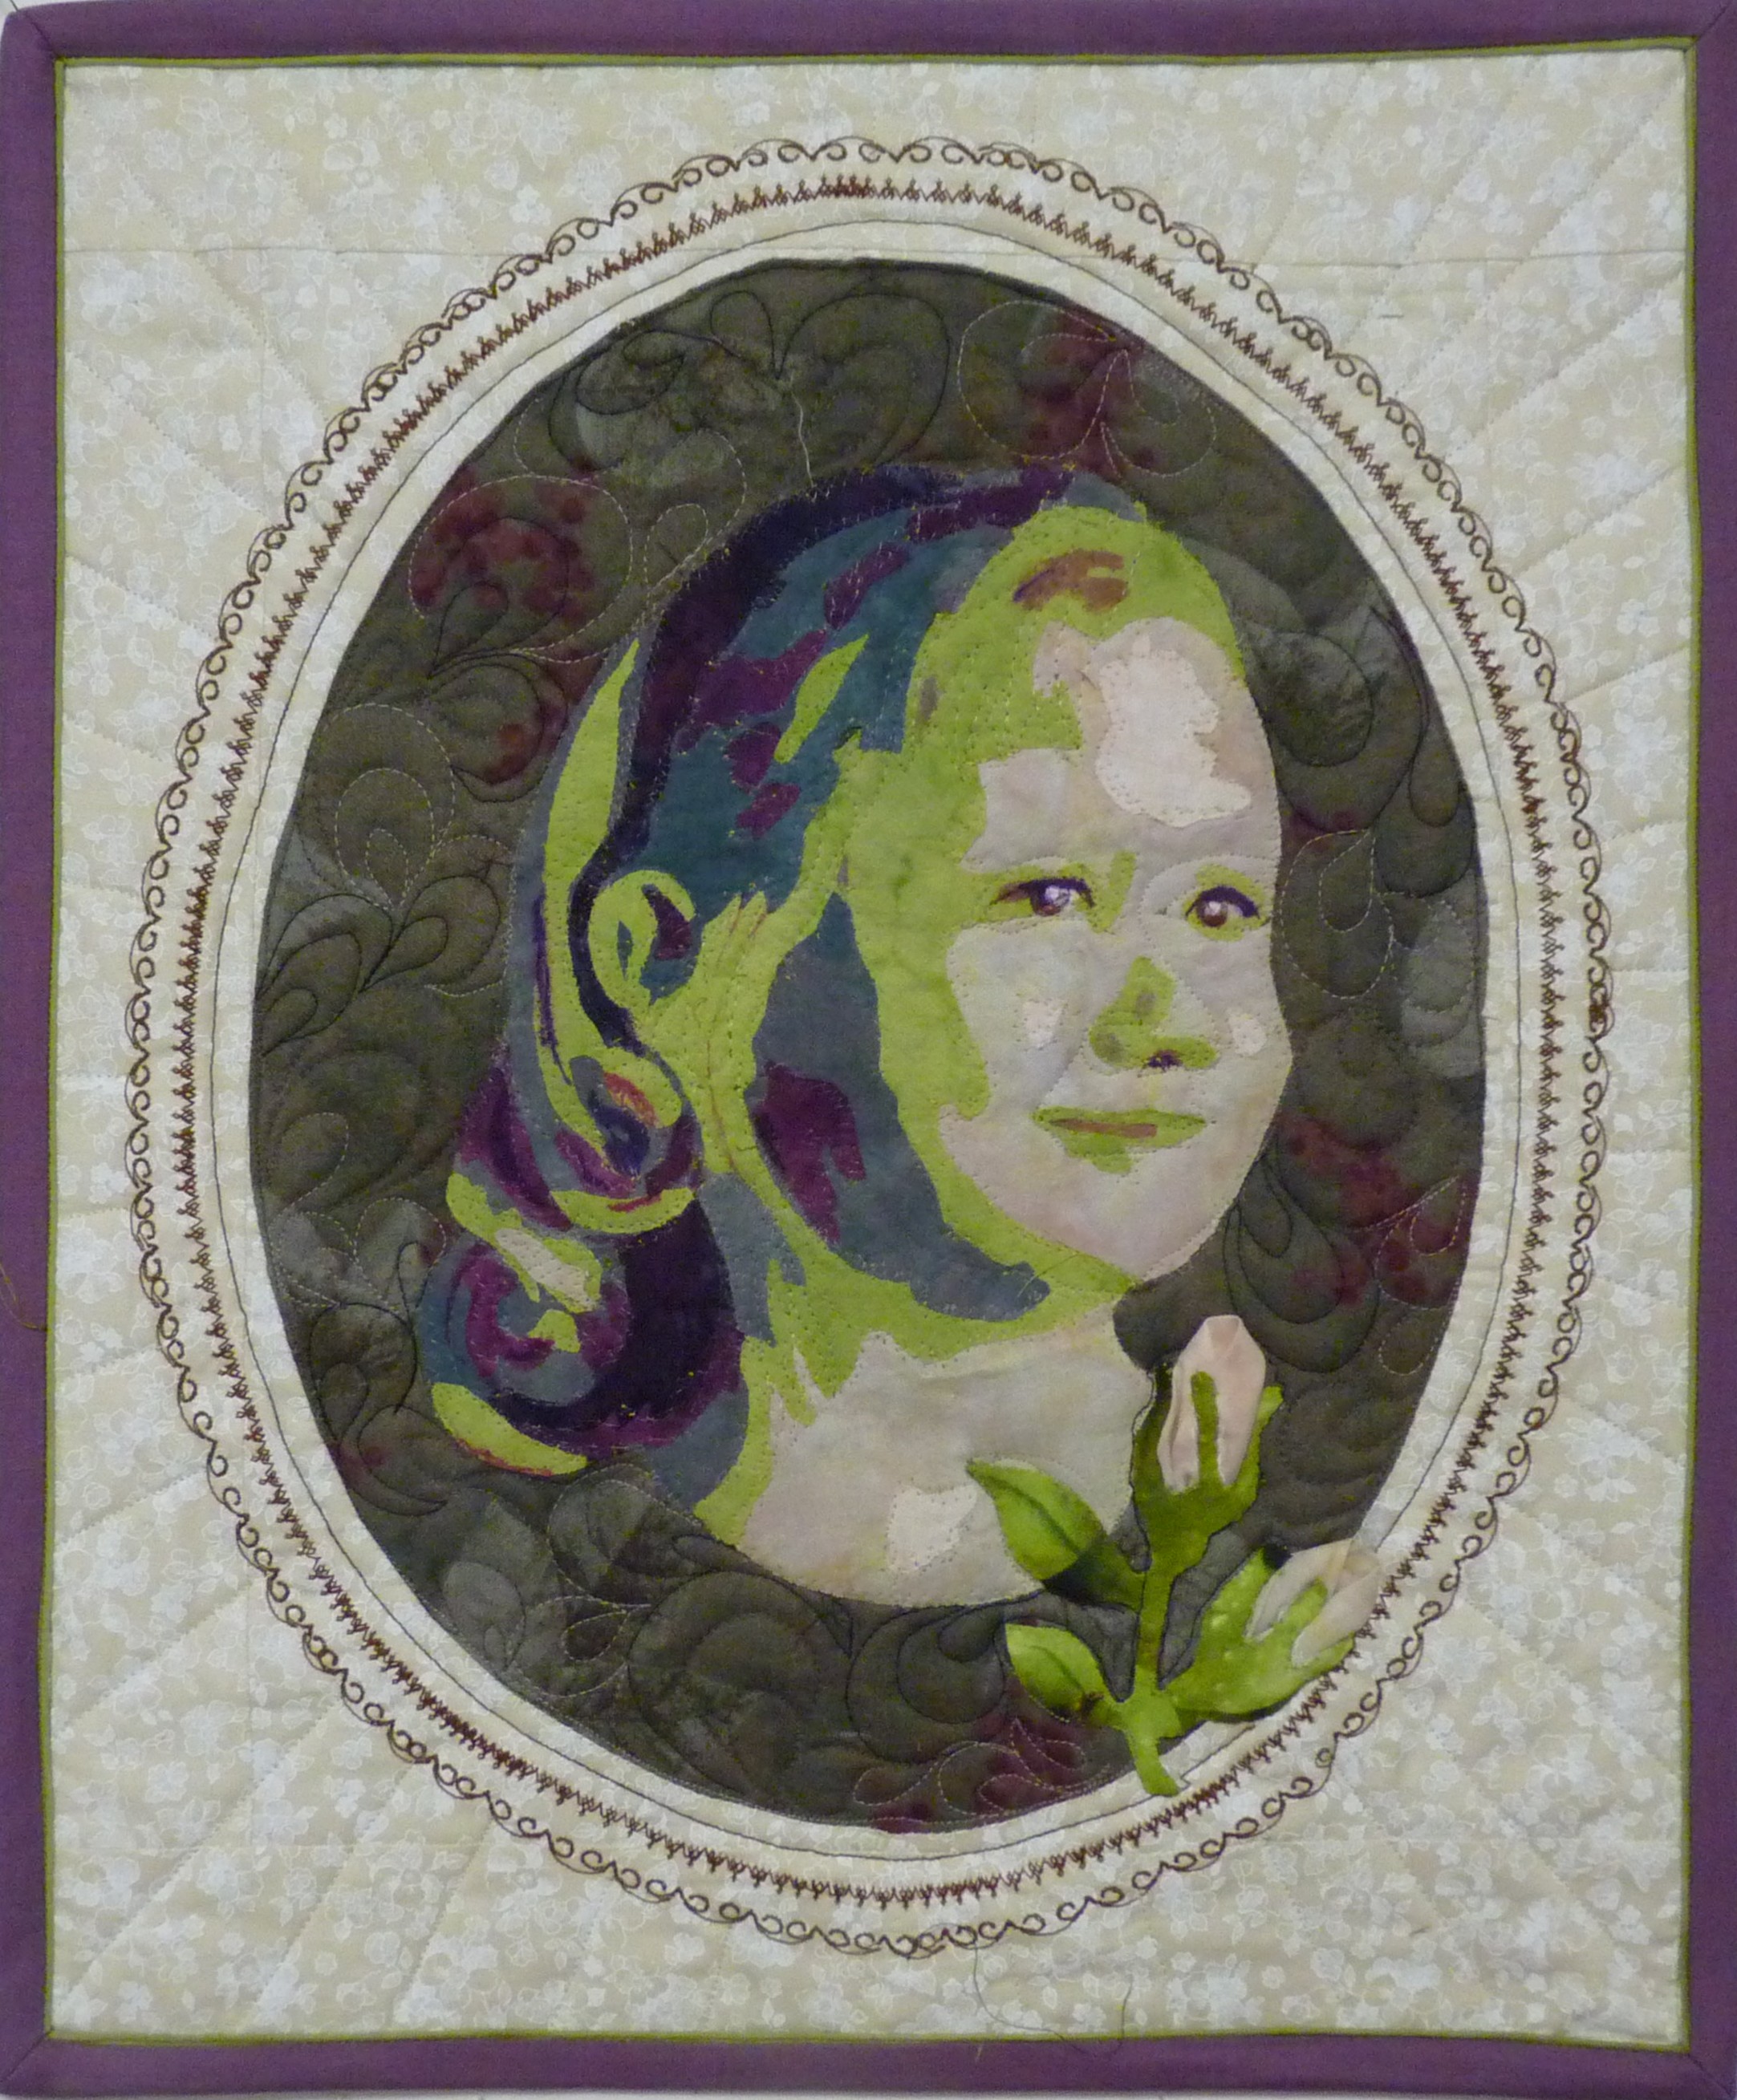
Ann Shaw discusses adapting photographs for pieced quilts, her approach to taking pictures to make into quilts, and the design choices affecting the look of her quilts. She is happy to take questions from the audience. Ann Shaw teaches internationally and has been personally endorsed by Ruth McDowell to teach her style of quilting.  Visit Ann Shaw’s site for more information on this talented artist.

Monday, May 4th, 2015 10 am
Jacksonville Center for the Arts
Guest admission $5
Free for members of The Quilting Party, River City Quilt Guild and Floyd Quilt Guild


Workshop: Flowers of the Gorge


Tuesday, May 5th, 2015 at 9:30am
Jacksonville Center for the Arts
220 Parkway Ln. S, Floyd, VA 24091

Ann Shaw 1-day design and piecing class based on the design and piecing techniques of Ruth McDowell.

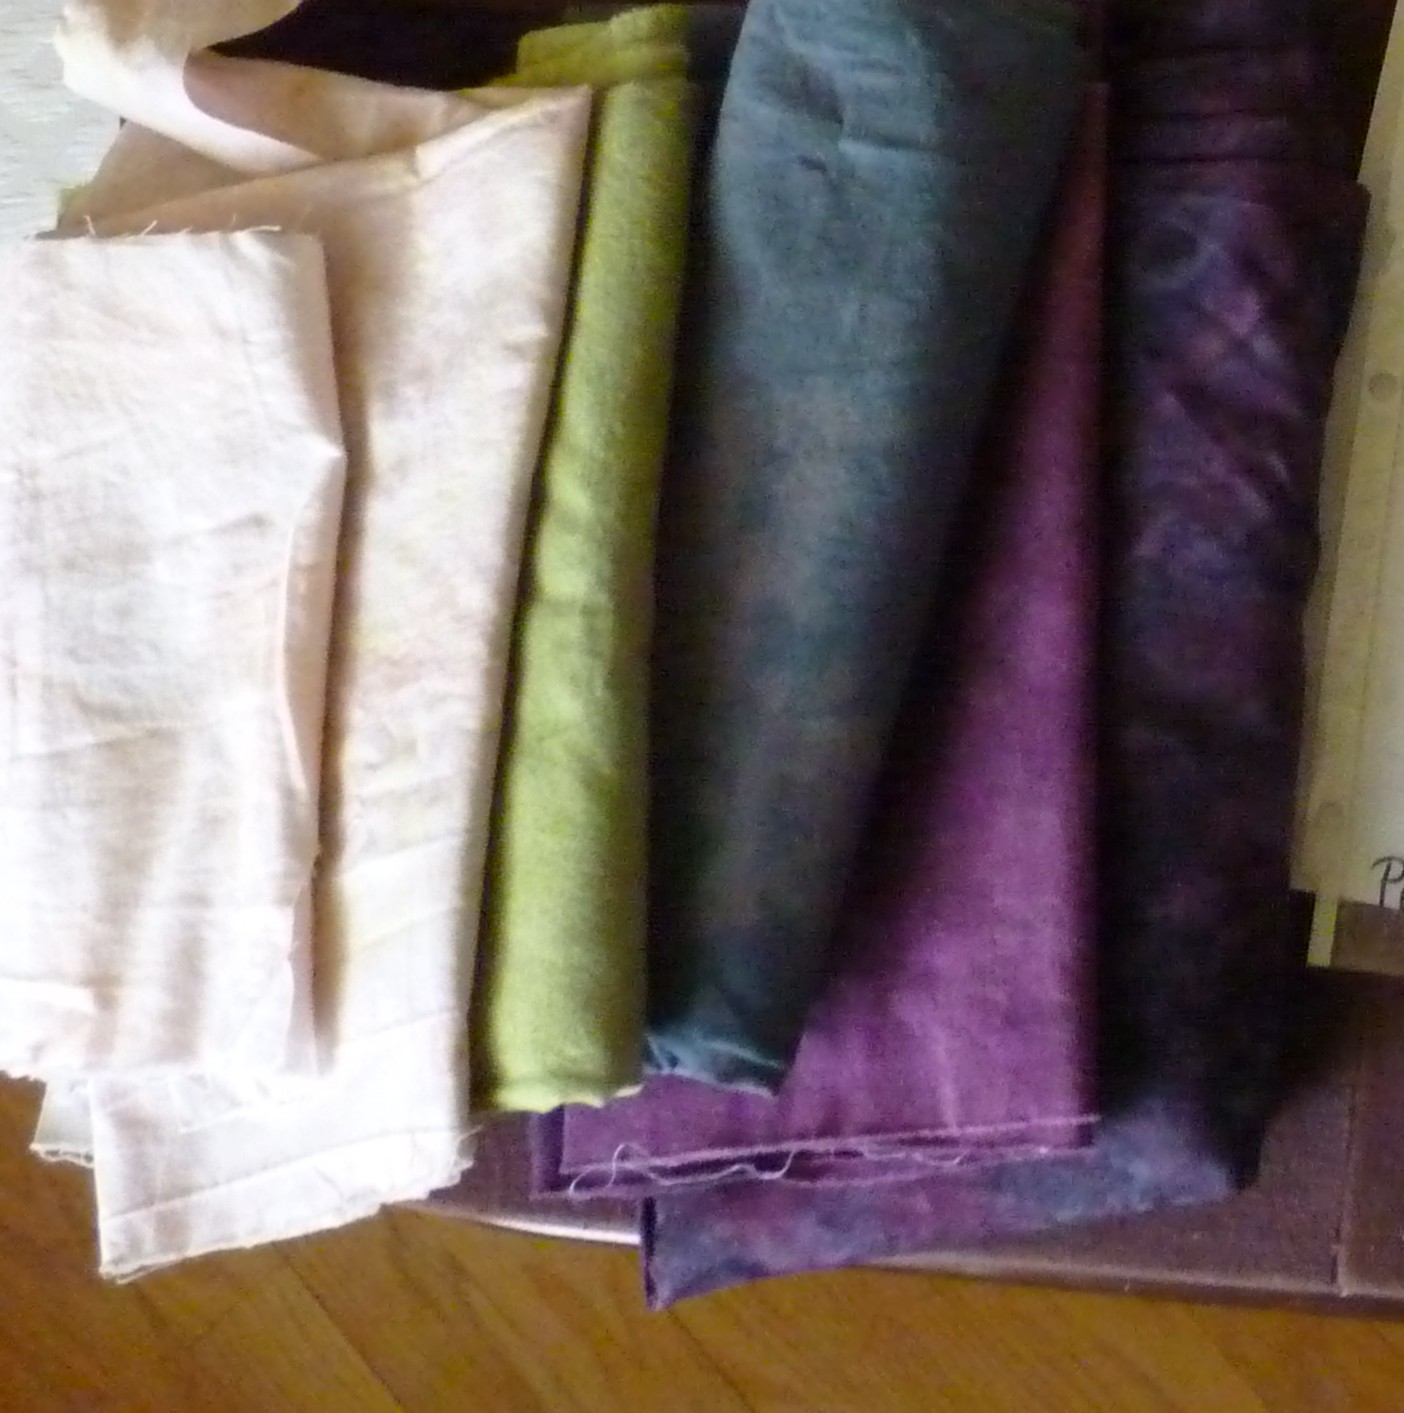
Flowers have been an enduring source of inspiration for quilters with many traditional quilt blocks featuring flower patterns. Miniature wild flowers found in the Columbia River Gorge have inspired these patterns.  Ann Shaw’s designs will come alive with unexpected fabric choices. This workshop is suited to all levels including the confident beginner.

You will select one of several flower patterns, prepare a freezer paper template and then begin the process of selecting fabrics for your design. We will also discuss sewing methods and sewing order to complete your wall hanging.

Registration for members opens December 1st, 2014, for non-members February 15th 2015. $65 workshop fee per person for non-members

$55 for members of Floyd Quilt Guild.The Quilting Party, and River City Quilt Guild.

Pattern required (see supply list: approximately $8 – $18.00) More patterns to come!

For more information, please visit http://www.floydquiltguild.com/workshops.html to find registration forms and supply lists.